I have always loved Italian espresso. Since the spring of 2020, when the Covid pandemic broke out and cafés were suddenly off-limits, I’ve also tried to reproduce it at home (with varying success). In the quest for the “God shot”, I’ve cycled through more coffee-making equipment than I care to confess; among these are a multitude of grinders. I started with a humble Graef CM 800, then quickly progressed onto a Eureka Mignon Silenzio, a very capable grinder but with a number of quirks I didn’t care for (most importantly, the finicky little grind adjustment wheel). I then decided to give a good quality hand grinder a try and bought a Kinu M47 Simplicity. The shots improved, but… by this point, Gear Acquisition Syndrome had hit hard and I finally landed on a Niche Zero. The Niche made tasty coffee for sure, but I did not like the workflow or the messiness (I’ve never seen so much static in ground coffee as occurred with the Niche).
This whole journey has been accompanied by a number of frustrations. Espresso is not easy to make: it is extremely sensitive to small variations in equipment, technique, recipe (brew ratios and such), raw materials (i.e. the coffee beans, water) and even the weather (grinders behave differently in different humidities). For a beginner, this can be extremely frustrating, as troubleshooting a bad espresso shot is such a complex problem: not only is it difficult to identify where the problem(s) lie(s), it is also normally the case that changing one variable gives rise to a different response in the remaining variables. What one thought would be an enjoyable hobby and a way to save money quickly turns into a spiralling into perfectionist madness… and a lot of money burned along the way.
I suppose what I am trying to say here is that it is possible to view coffee-making either as a science or as an art. Both approaches are perfectly justified, and I have great admiration for those (such as Jonathan Gagné) who take the first. For me personally, it is too much. Hence the search for a more laid-back, approximative, impressionistic approach to coffee.
The Anfim Best doser grinder
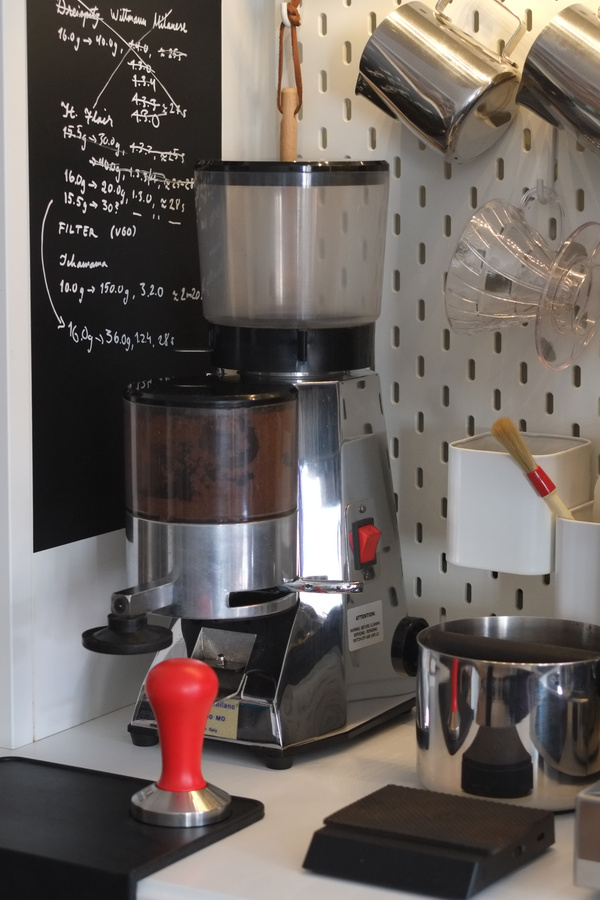
For the above-mentioned reasons, I wanted to try a more traditional way of preparing espresso. I wanted to do away with weight measurements down to tenths of grams, obsessive puck preparation, and the such. With a forgiving coffee, I reasoned, making espresso shouldn’t really be any more difficult than “set the right grind size, flick a doser to fill the portafilter with a preset volume of coffee, tamp, and brew”.
So when the opportunity presented itself to acquire a used Anfim Best doser grinder for a very attractive price, I jumped on it.
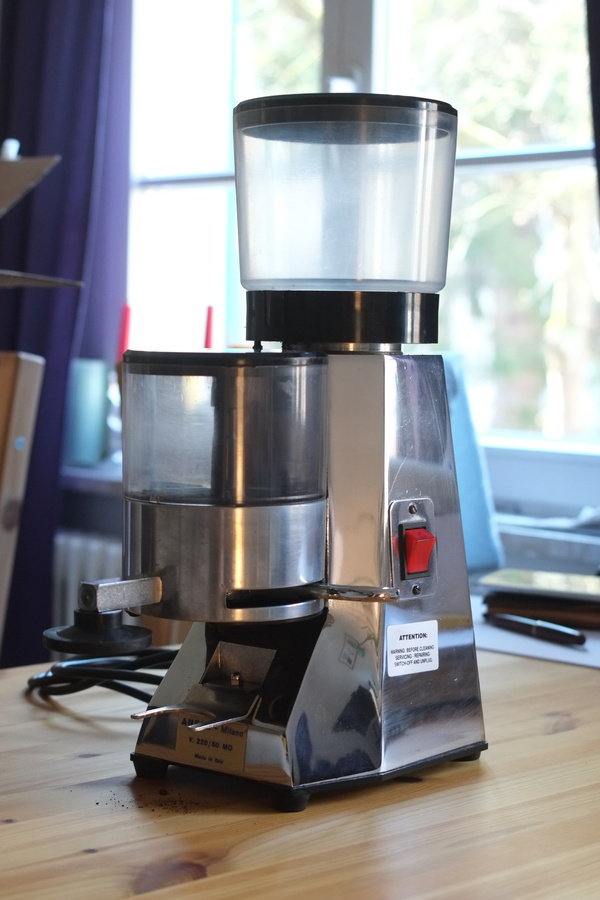
The Anfim Best is the sort of espresso grinder that gets all the bad rap these days. It is not suited to single dosing (in fact, it comes with one of those bulky mechanical dosers you see in traditional Italian espresso bars), it has “small” burrs (54 mm), and it does not look particularly sexy (no wood accents, no white paint). But what you lose in these properties you gain in others. The Best is an extremely solid piece of equipment. The body is cast in one piece of metal, and with its substantial 300 W motor the whole thing weighs about 8 kg. This is one grinder that won’t dance on the table when it’s doing its job.
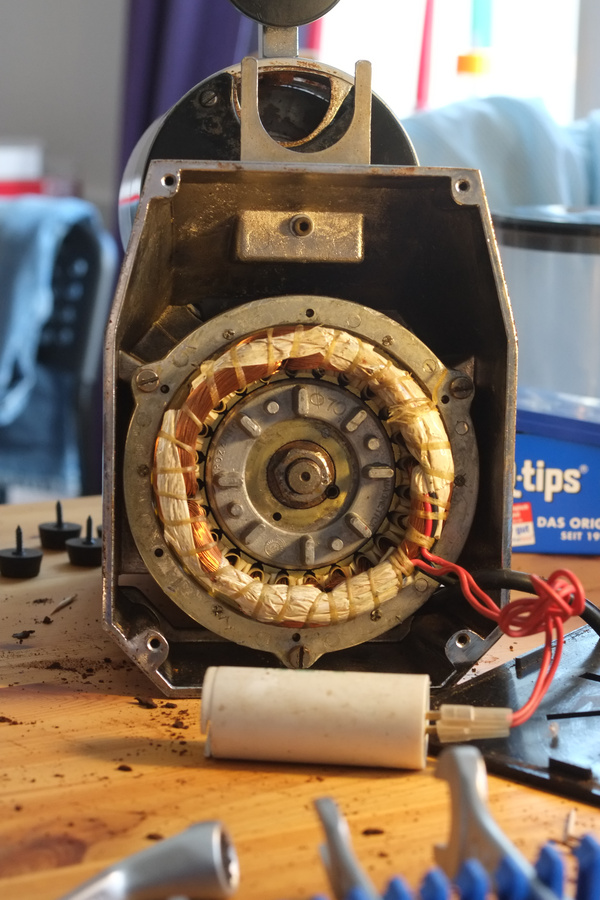
Better yet, all the parts of this grinder are still available as spares. Given the quality of construction, I would be surprised to see these things fail very often, or very quickly. And if it does, repair is very possible. For instance, there is a total of three electrical components in the grinder: the motor, the power switch and one capacitor, plus wiring. This sort of simplicity bodes well for longevity.
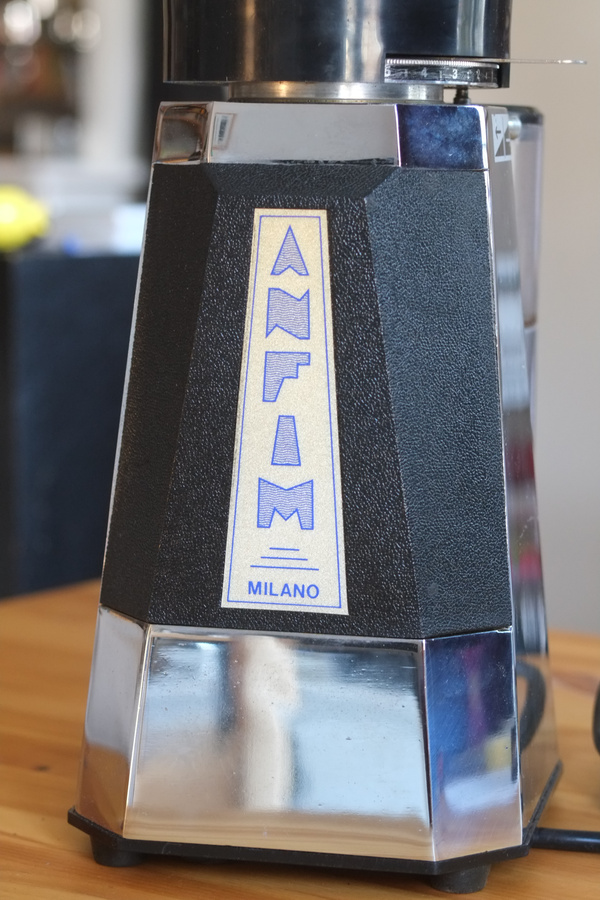
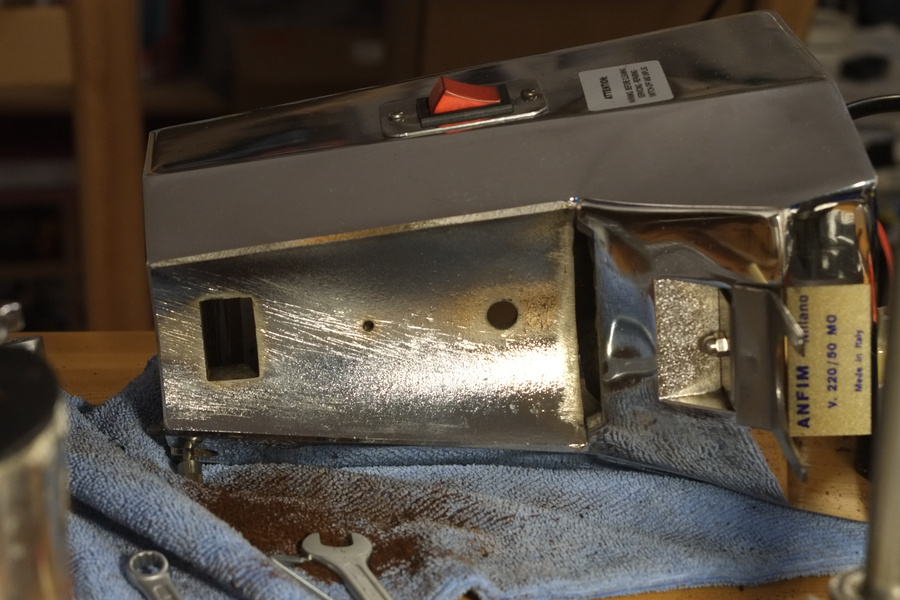
A note on branding: the Anfim Best is the smallest and cheapest in the current Anfim grinder lineup. (There used to be an “Anfim House Self” with smaller burrs and no doser, which would arguably vie for that low spot, but as far as I know they are no longer manufactured.) In light of this, I find it amusing that the Anfim marketing department decided to name it “Best”… Incidentally, these grinders often get sold on the second-hand market as “Anfim Milano” because, on many models, the word “Best” is nowhere to be seen, whereas “Milano” is written in at least two places on the grinder. But, to the best of my knowledge, Milano is the birthplace of the grinder, not the model name.
Plunging into restoration: cleaning the grinding chamber
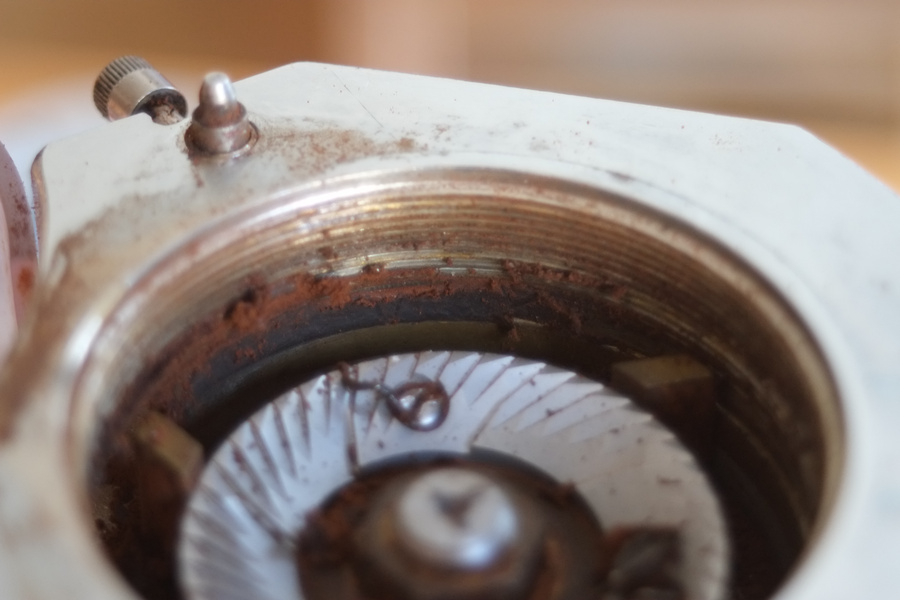
My Anfim arrived in a pretty messy shape. Although it was fully functional, it was also extremely dirty – and I cannot stress the word “extremely” enough here. I quickly determined that a full tear-down was necessary to get at all the grime.
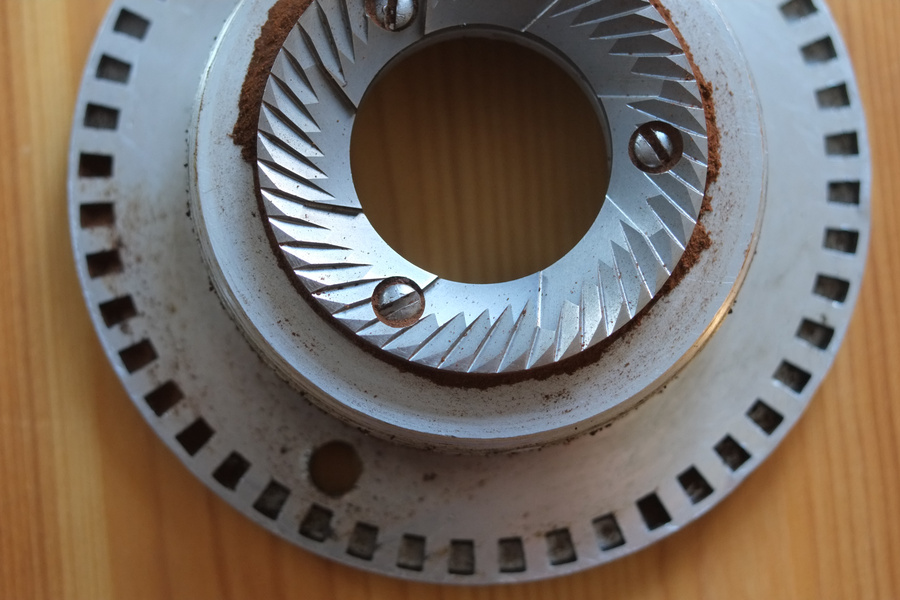
I begun by removing the bean hopper and brushing away at the grind chamber using an ordinary coffee grinder cleaning brush and wooden toothpicks, and without any solvents at this point. This part of the job is very time consuming, if the grinder is as caked with old coffee as mine was.
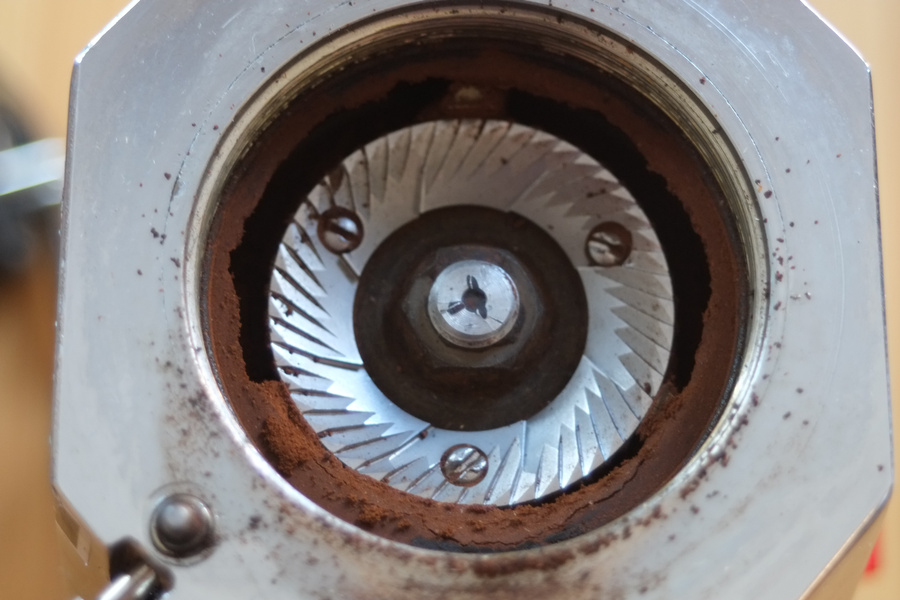
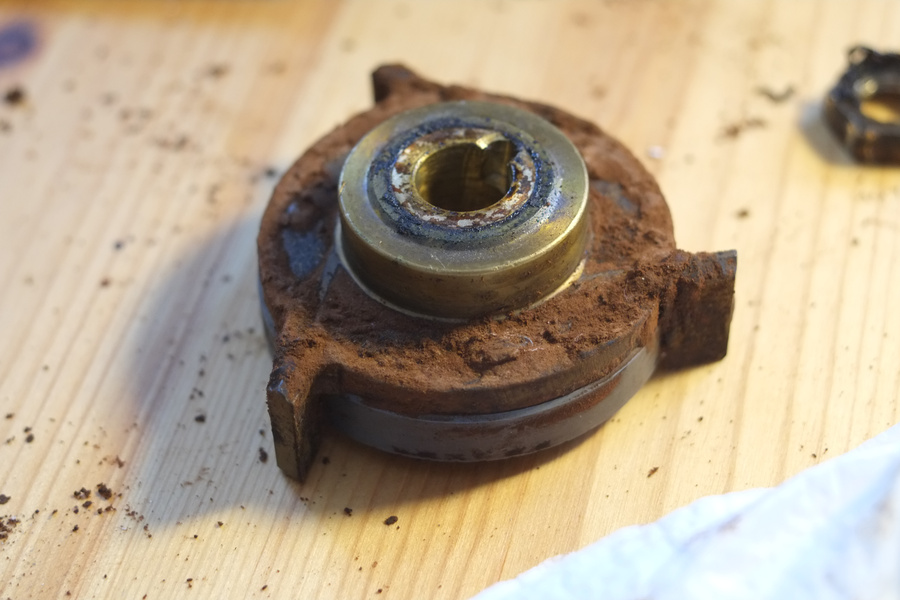
Next, I wanted to remove the lower burr carrier from the motor spindle in order to properly clean its underside. The go-to trick here is to wedge something softer than steel, say a wooden chopstick, between the burr carrier and the doser/chute opening, and to unscrew the top nut. This did not work, unfortunately. Ultimately, I had to open the bottom of the grinder to reach the bottom nut for counter-torque. I put very judicious amounts of WD40 on both nuts, let it sit for about half an hour, and went back. Working with two wrenches, it was then possible to slowly loosen up the top nut while holding the bottom one stationary. This allowed me to pull the lower burr carrier out of the grinding chamber. As expected, there was a good amount of gunk under it.
I then prepared a solution of grouphead cleaning agent (sodium percarbonate) by dissolving a teaspoonful of the powder in about one and a half cups of water heated up to 80 degrees Celsius. I dropped the lower burr carrier and the top nut into this solution and let them soak until all the caked up coffee had dissolved.
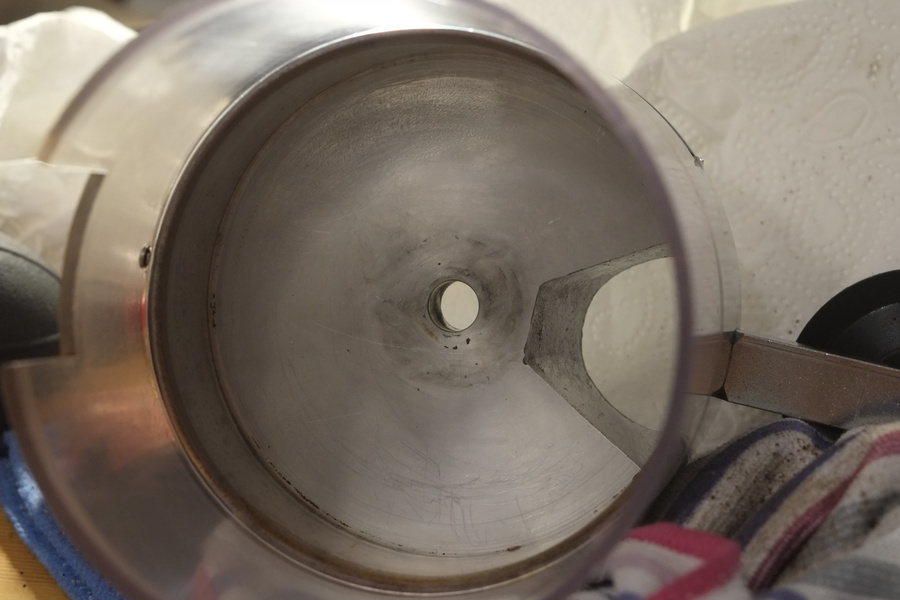
Next, I tackled the threads on the top burr carrier and the grinding chamber. These were also very gunked up from stale coffee, which made it difficult for the burr carrier to rotate in the threads. I went at the threads with Q-tips, wooden toothpicks and 99% isopropyl alcohol. Again another time consuming part of the job, but the end result more than justifies the monotony of the work.
Cleaning the doser
The doser needed some serious cleaning but also lubrication, as it made a squeaky noise whenever the doser lever was flicked. It might be possible to do this without separating the doser from the grinder body (there is a plastic cover under the doser unit which is only held in place by two screws at the front), but since I had decided on a complete tear-down, I wanted to remove the entire unit. (This was a good idea anyway, since I later discovered a good amount of coffee stuck between the grinder body and the doser.)
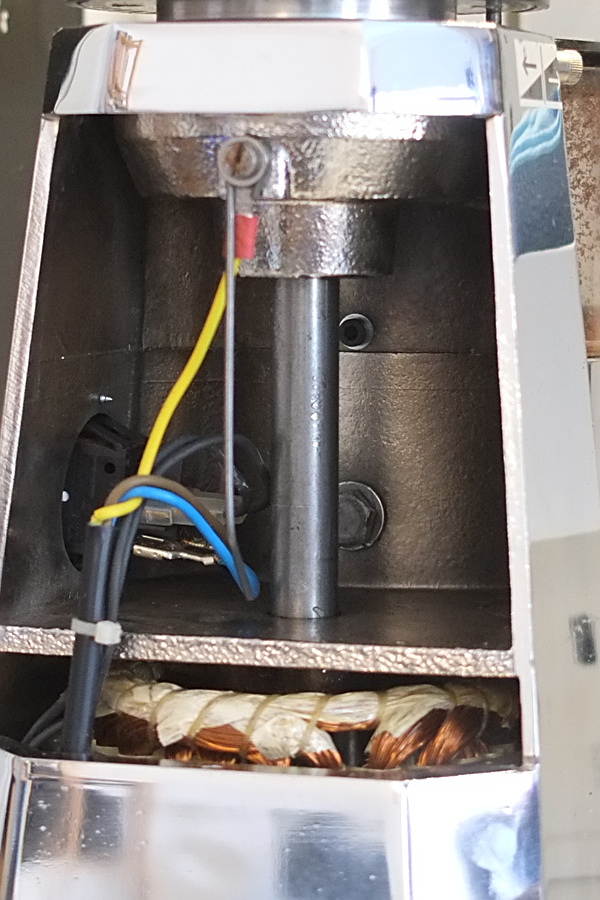
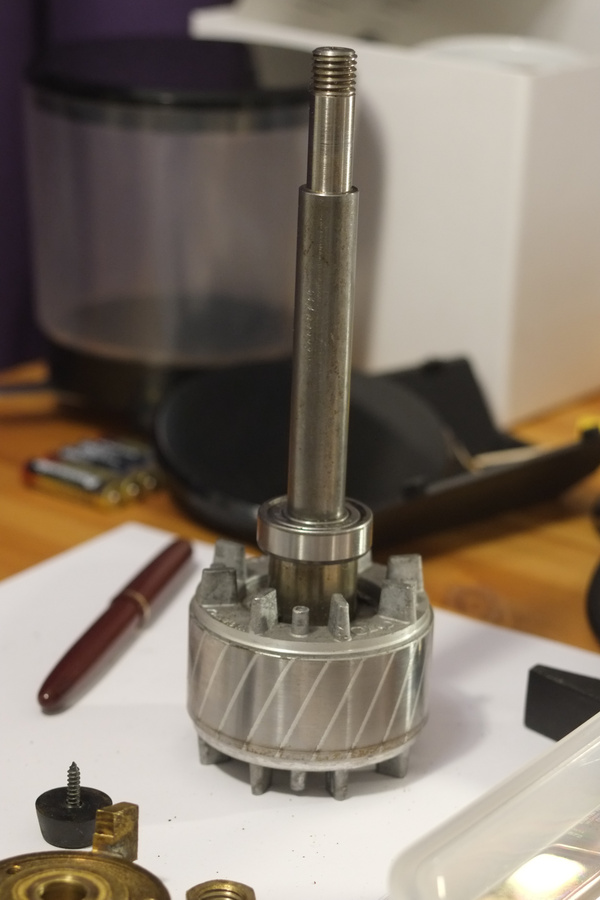
But Anfim didn’t make removing the doser easy, by any means. It is held in place by two bolts which one removes from the inside of the grinder body, having first removed the black plastic cover in the back. The problem is that the two bolts are aligned with the motor spindle, so without some very oddly shaped tools, they are basically impossible to reach. A brute force solution is to remove the motor spindle, and in the end (having faffed unsuccessfully with all the wrenches I had in my toolbox) this is what I decided to do. Since the top nut and the lower burr carrier had already been removed, removing the spindle was easy, if a bit violent: one simply hammers it out from the top. Make sure to use some sort of drive punch (or perhaps better a wood block) so you do not end up flattening the end of the spindle! With a couple of whacks, the spindle should then come out from the bottom of the grinder, along with the motor rotor. This, in turn, gives complete access to the doser bolts from the back of the grinder.
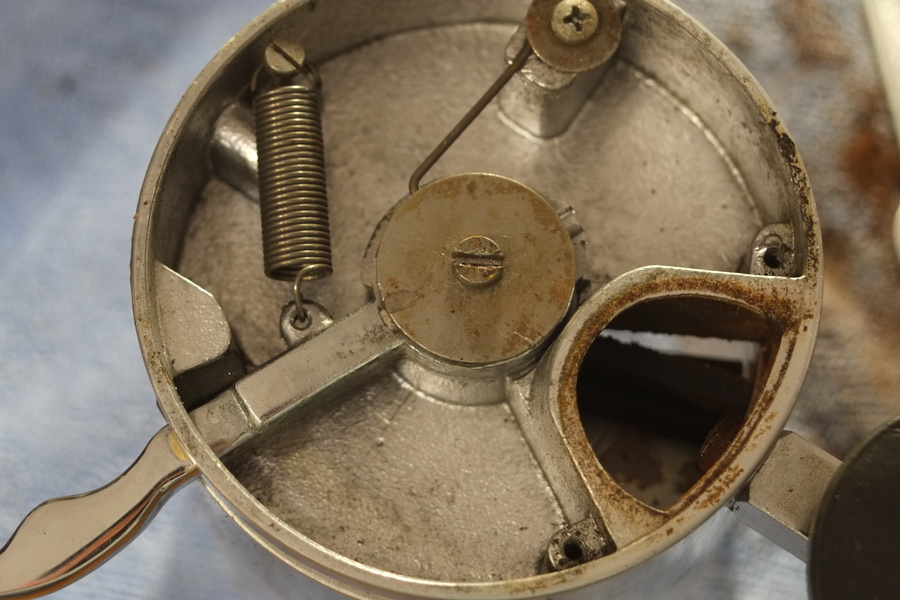
With the doser unit removed, I unscrewed the doser star from the flicker mechanism and proceeded to clean all the plastic parts with a brush and Q-tips. The doser cylinder was cleaned with the help of Q-tips, wooden toothpicks and isopropyl alcohol. The bolts and nuts also required proper cleaning. When putting the mechanism back together, I applied a small amount of synthetic grease to the bolt so it would not stick.
The doser flicker mechanism is pretty self-explanatory, but there is also this video from Anfim that explains how to service it. Basically, remove all parts, clean, put back together and apply some grease to the ratchet. I used SuperLube which I happened to have lying around. It has the benefit of being food-grade (although it is unlikely that any of the greased parts should ever come in contact with the coffee).

Putting it back together
All parts cleaned and lubricated, I reattached the doser unit to the grinder body. I then drove the motor spindle back to place with a few careful whacks, using synthetic grease (SuperLube) to help it slide past the top bearing housing. A bit of grease was also applied to the top nut in the grinding chamber so that it would be easier to unscrew in the future.
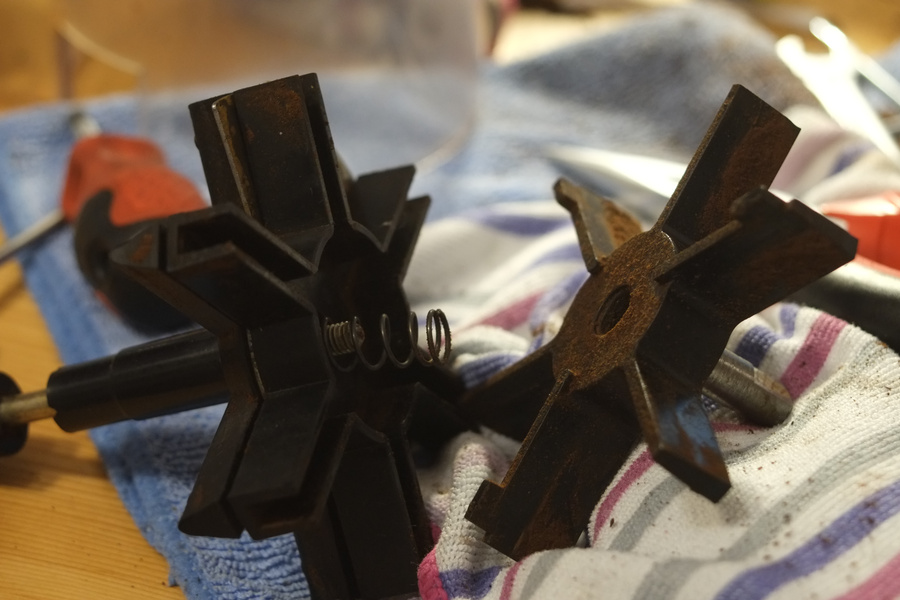
I had removed the burrs for inspection, and one of them indeed had one of its “teeth” cracked. I plan on replacing these, but for now, I just put them back in their carriers and screwed the top burr carrier onto the grinder.
External cosmetics
Cosmetically, my Anfim has seen better days. I don’t know how old it is – the sticker on the bottom plate which would normally give the year of manufacture has fallen off – but my guess is around 20 years. The body has taken some hits, though luckily the chrome is fine throughout. The upper burr carrier has weird marks on the outside, as if someone had tried to turn it with a plumbing wrench instead of with their hands. These cosmetic defects don’t really bother me, though, as long as the grinder’s functionality isn’t affected.
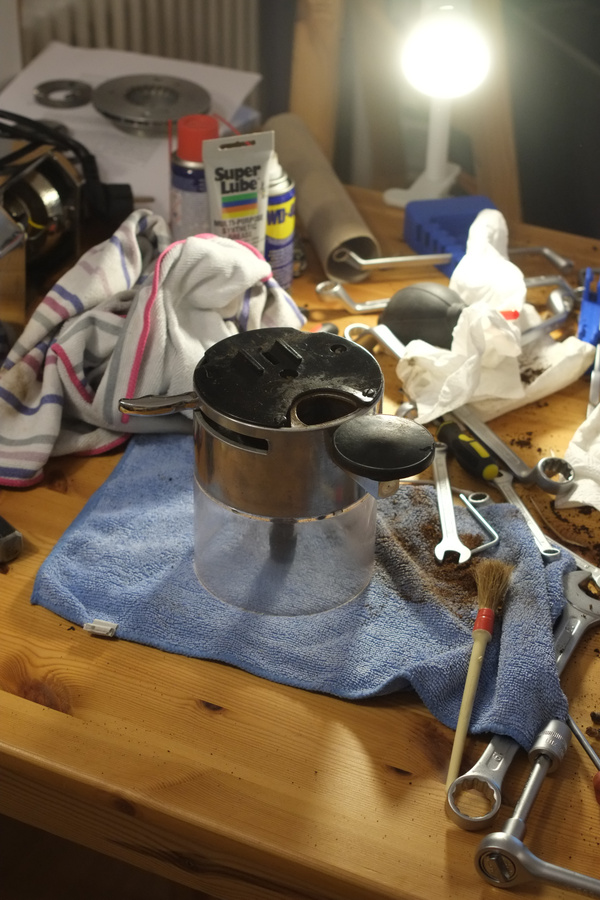
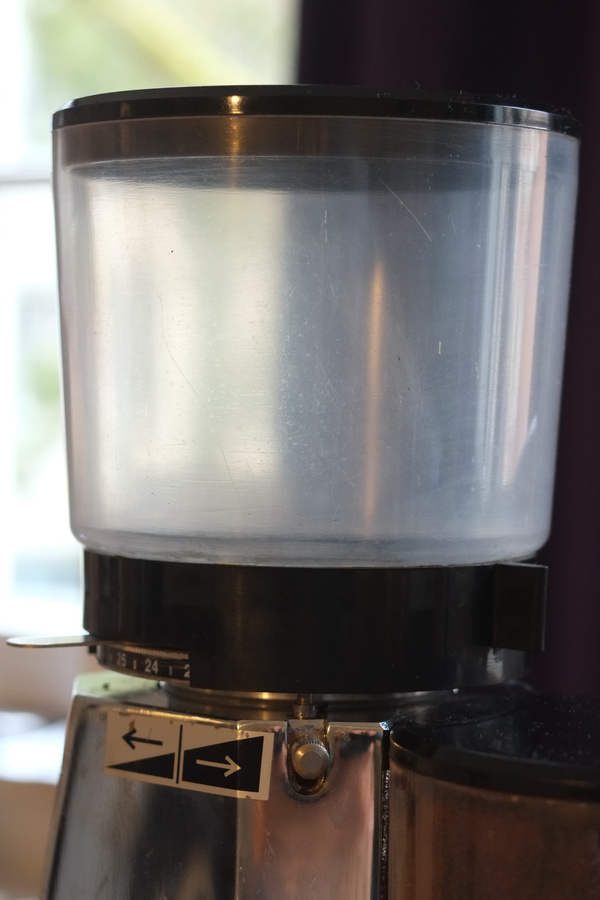
One cosmetic defect is that the beans hopper and the plastic housing of the doser unit, both made of transparent plastic, are not all that transparent anymore after all these years. They also have scratches. I tried to improve things by first cleaning the hopper carefully with dish soap, then by scrubbing it with some toothpaste (thinking the latter would act as a very gentle abrasive). Things didn’t improve with this treatment, however. I suspect much more work would be required to restore these parts, involving a sequence of increasingly fine sanding paper followed by polishing. I cannot be bothered with that right now, and at any rate, making the hopper more transparent actually impairs functionality, as sunlight is one of the things roasted coffee beans really do not like…
The end result
I am pretty happy with the way the grinder turned out – and with the fact that I managed not to damage anything in the process! Check back for part 2, in which I discuss the use of this grinder – and how the coffee tastes.